Proxmox Homelab Layout
A quick overview of my homelab setup and its startup costs
As streaming services keep drifting toward cable-style bundling and fragmentation, more people have been searching for alternative options. One alternative is Plex, a service that lets users self-host and stream their own media, watch free live TV, use a universal watchlist across services, and rent new releases. The primary appeal is the ability to self-host and share your own media library; or at least, that was the appeal to me.
In July 2025, rumors circulated that, beyond the five Muhammad-related episodes that are typically banned by major streamers, Paramount would be banning 15–17 more episodes of South Park. As a longtime fan of the show, I was frustrated. Having “obtained” a hard drive containing the first 20 seasons (which included both the currently banned and rumored-to-be-banned episodes) while in college, I decided to look into setting up a Plex server for myself. The idea of setting up a server (or homelab) to host Plex appealed to me. I had an Amazon mini-PC lying around and turned that into my first homelab hosting Plex.
Though that mini-PC served me well, I wanted a more stable, more powerful platform to build on. To save money, I looked for a bare-bones refurbished enterprise PC to serve as the core of my new setup. I came across this HP Mini PC and decided it’d be a good fit. A few weeks into the process, I purchased 2 × 16 GB A-Tech sticks to give the system a bit more headroom.
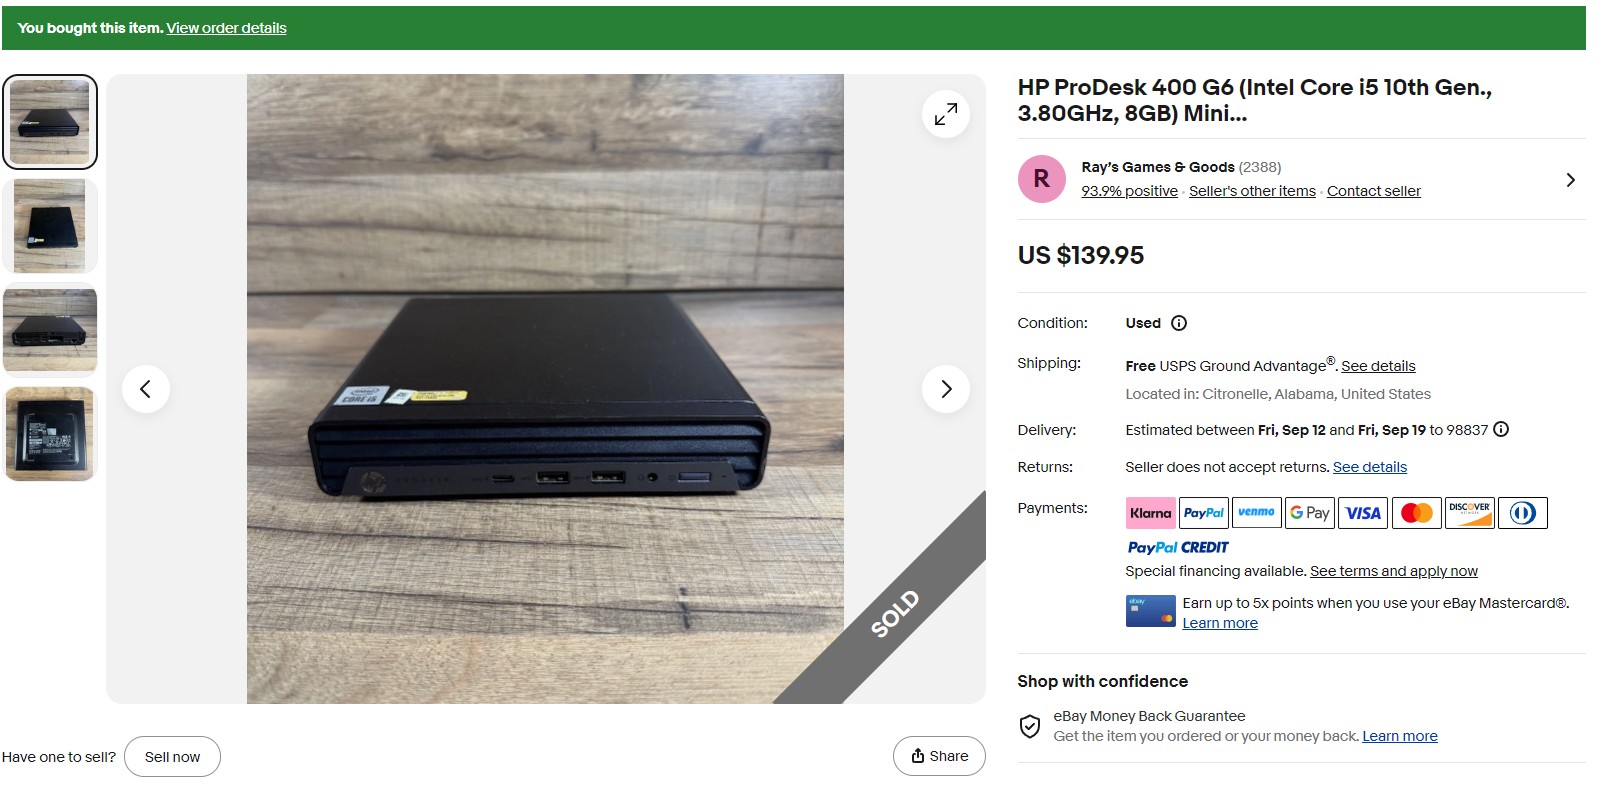
First, the 10th-gen i5 CPU would be more than enough to support my household’s transcoding needs and still provide headroom for running virtual machines and Linux containers. Second, the small footprint would let it fit nicely in my home media hub. Third, the cost was very competitive compared to the alternatives. Today, the Mini PC is running a Proxmox host with a suite of VMs/LXCs including an ’Arr stack, Plex, Mealie, Immich, Home Assistant, and n8n.
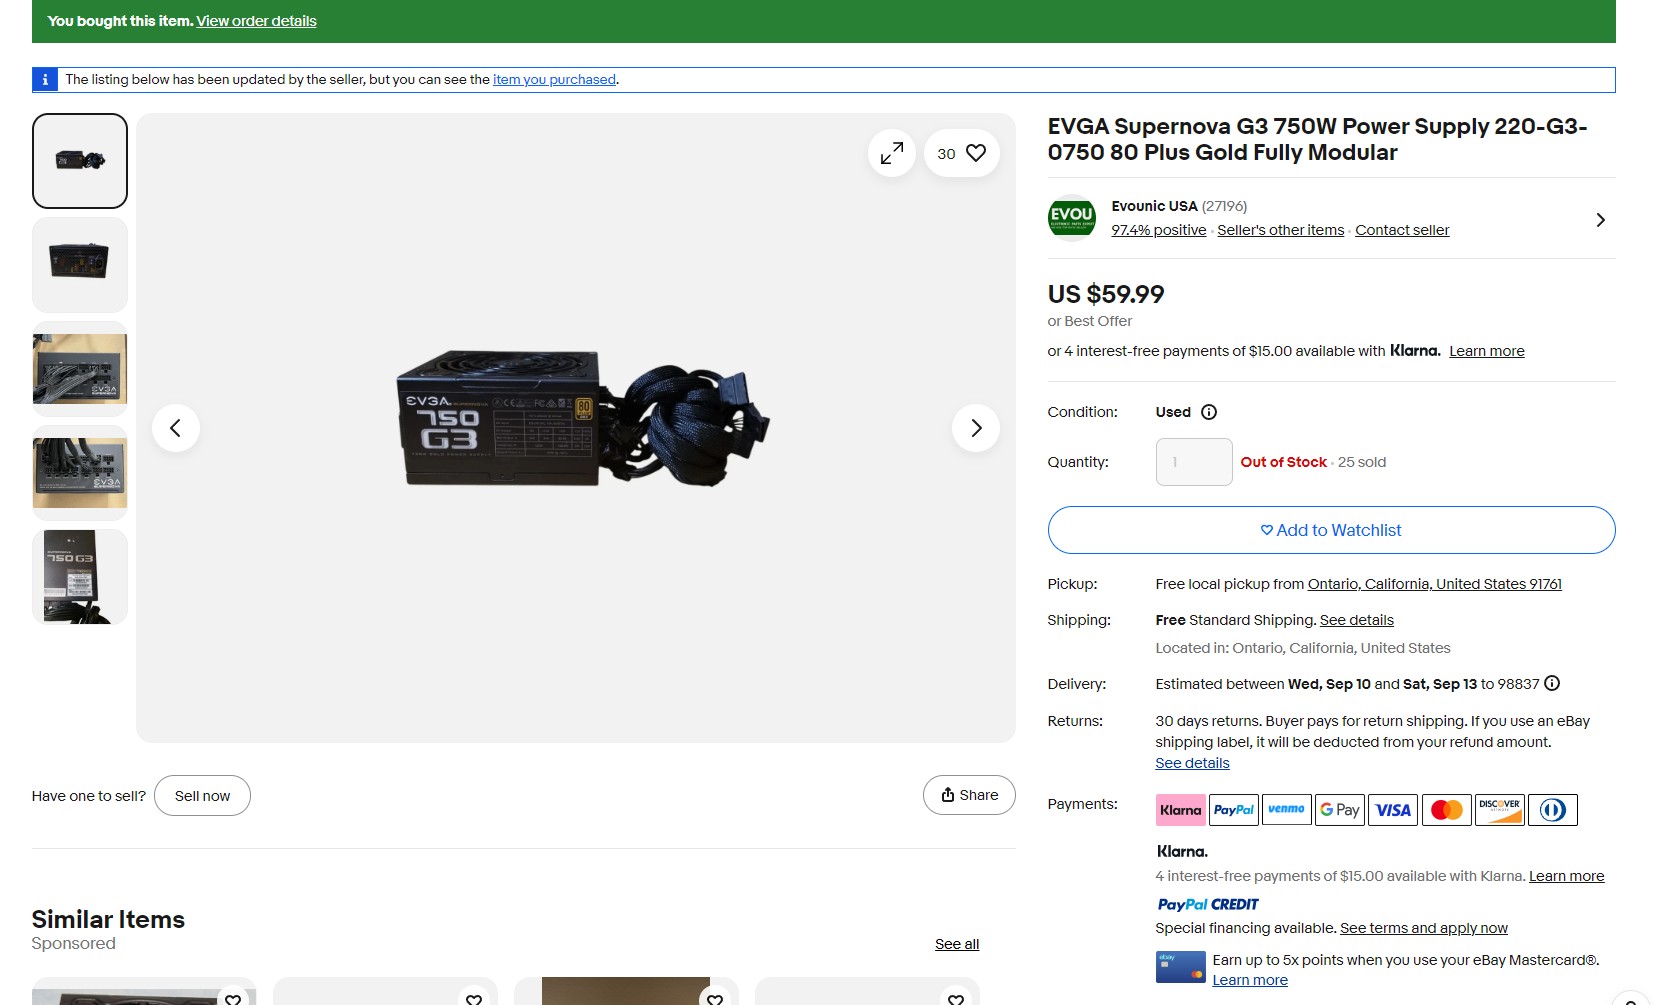
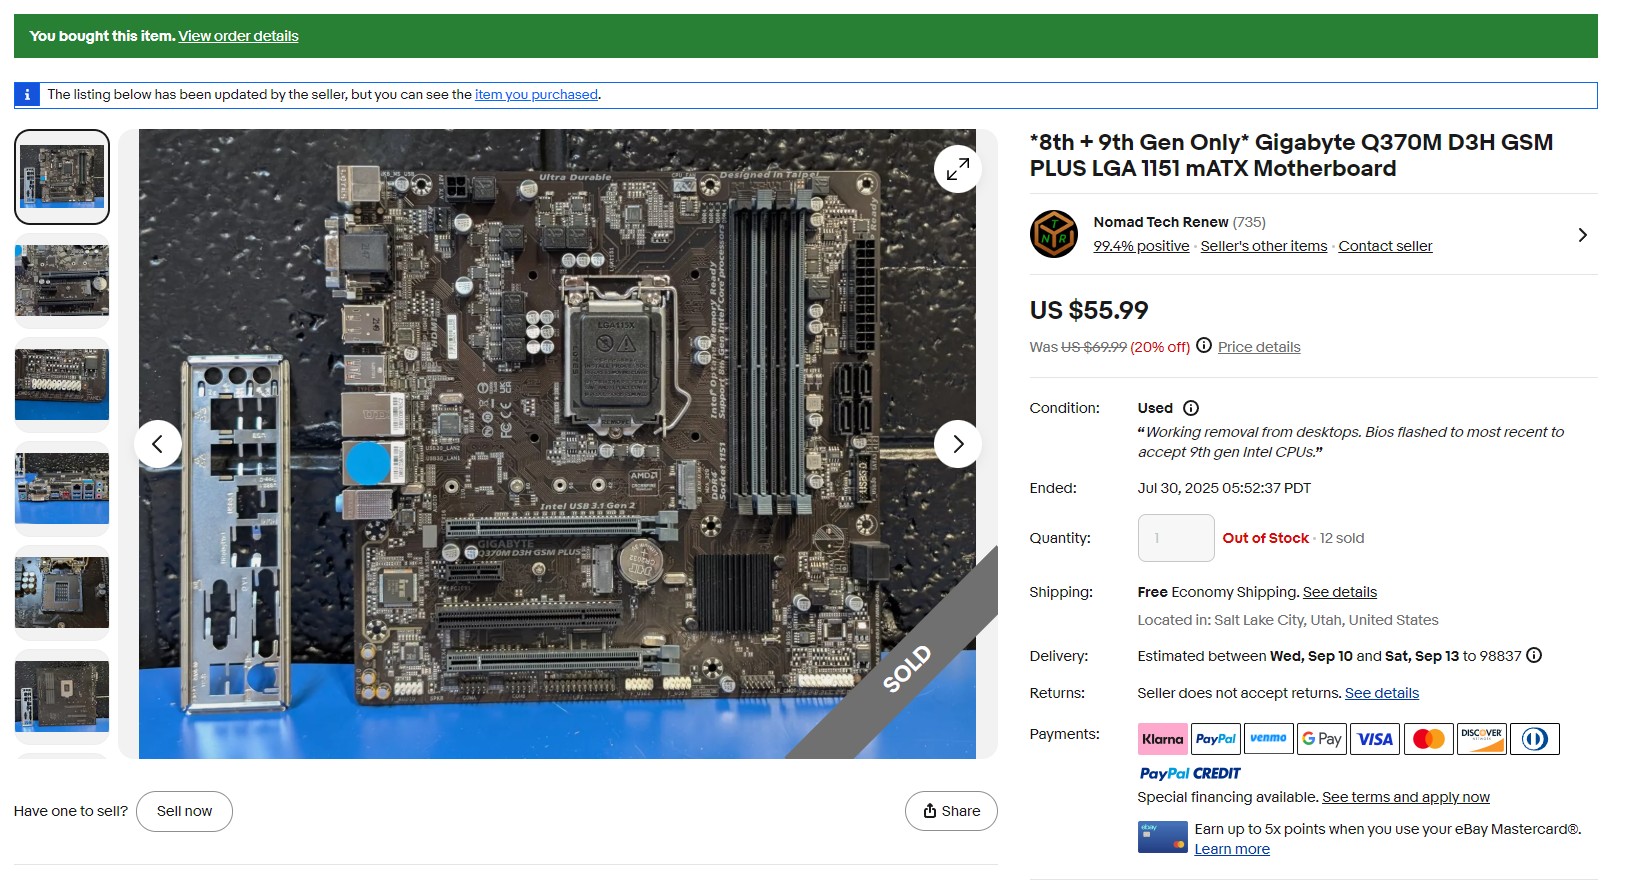
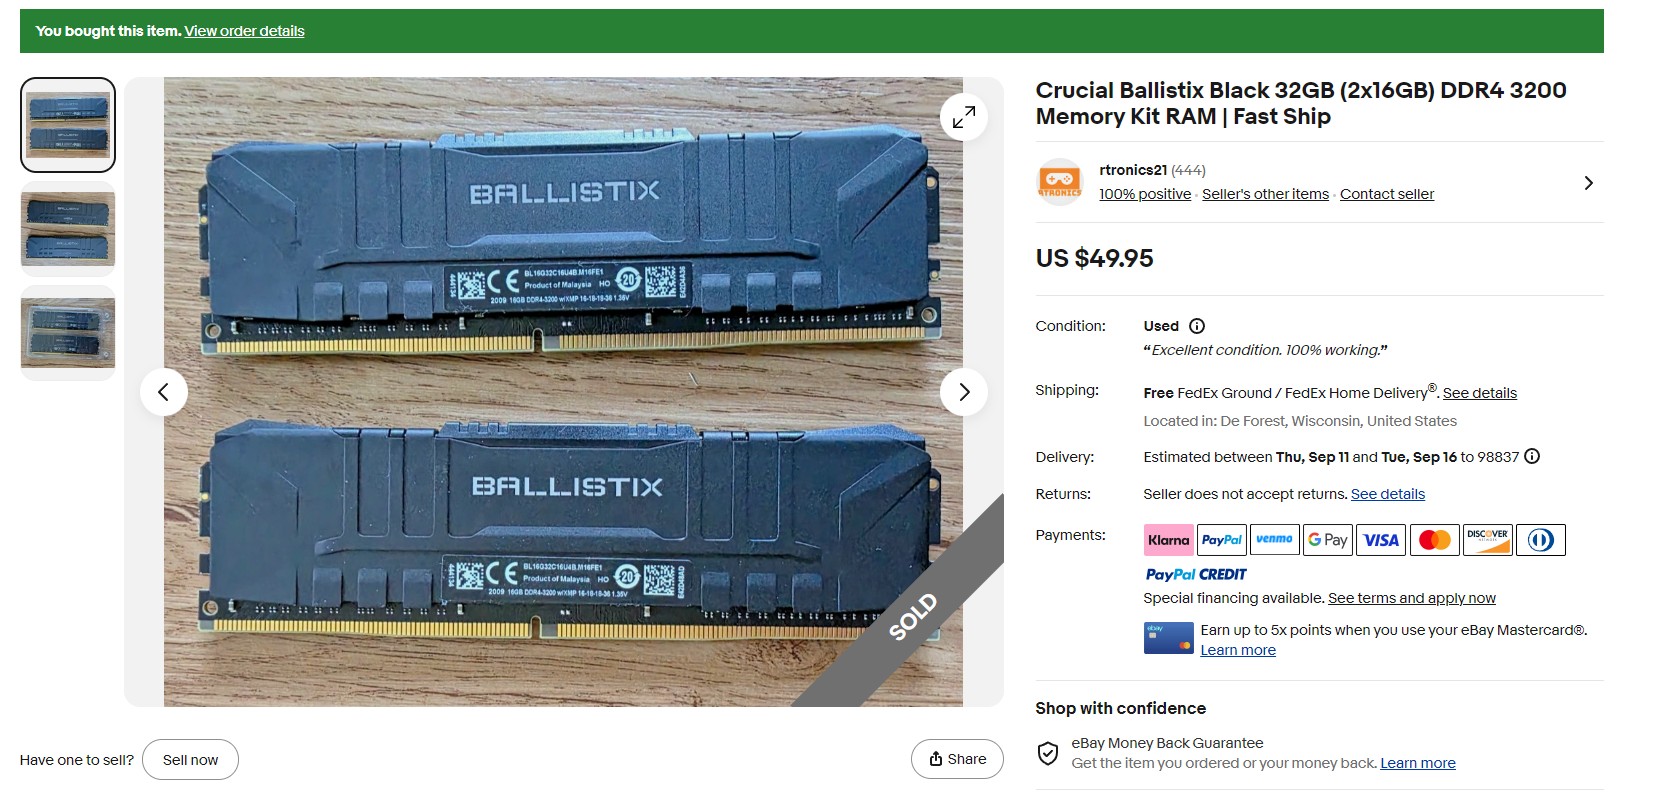
Historically, my media library sat on an old 512 GB Samsung SSD connected to the host via a SATA-to-USB cable. Unsurprisingly, I quickly ran out of space and needed an expanded storage solution. I considered prebuilt NAS options such as a Synology or UGreen unit; however, wanting a cheaper option and, honestly, to scratch an itch, I opted to build my own, mostly using eBay parts (shown below). I picked up a new Lian Li A3 for the case and a Thermalright CPU cooler from Amazon, and I bought two refurbished Seagate Exos 18 TB HDDs from goHardDrive.com to serve as my ZFS pool. With the assistance of ChatGPT, I set up TrueNAS Community Edition.

I started this project with the goal of running my own Plex server. I think I can say I’ve definitely met that goal. For the time being, I’m focused on expanding my homelab’s capabilities and slowly accumulating a larger collection of VMs/LXCs. Specifically, I’ve been having a good time automating my ’Arr stack and building out life-assistant automations in n8n. Though I don’t have any immediate plans for physical upgrades, I could see myself adding more storage to my NAS or adding a second mini-PC to expand the server’s capabilities.
Startup Costs
| Part | Cost |
|---|---|
| Crucial Ballistix 2 x 16 GB RAM | $49.95 |
| Gigabyte Motherboard | $55.99 |
| Intel Core i3 CPU | $24.99 |
| EVGA Supernova G3 Power Supply | $59.99 |
| Lian Li A3 mATX Case | $72.99 |
| Thermalright Assassin X CPU Cooler | $38.82 |
| NAS Cost | $302.73 |
| HP Mini PC | $139.95 |
| A-Tech 2 x 16 GB RAM | $59.38 |
| Homelab Cost without HDDs | $502.06 |
| incl. WA sales tax | $543.23 |
| 2 x Seagate Exos X18 HDDs (tax included) | $399.90 |
| Total Cost | $943.13 |